A Guitar effects pedal is an electronic device that alters the sound of the instrument in different ways. They come in different types like
- Overdrive Pedals.
- Delay Pedals.
- Reverb Pedals.
- Multi-fx Pedals.
- Fuzz Pedals.
- Preamp Pedals.
- Looper Pedals.
- Chorus Pedals
and playing around with them in different combinations can be quite addictive. You can find a few Arduino based solutions but they are usually based around some some custom boards.
So I was wondering how far we can get by just using some cheap Arduino based standard modules together with a modern Microcontroller (e.g. ESP32 or Raspberry Pico) and a DSP library. The overall design should look as follows
- An ADC is converting the sound to digital signals
- The Microcontroller processes (and alters) the signal
- A DAC is converting the signal back to some sound output which might need to be amplified
The Analog to Digital Conversion (ADC)
The following was bothering me quite a bit: An analog sound signal is oscillating between + and – voltage with an average of 0V. An Microcontroller however expects to read signals between 0 and 3.3V (or 5V if it is a 5V Microcontroller). So we can’t feed an audio signal directly to a regular ADC.
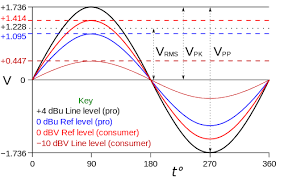
The next question is how often we need to sample an Electric Guitar as Input Source to record sound.
The fundamental frequencies in the playable range of the typical, in-tune electric guitar covers the range from about 80 Hz to about 1200 Hz. The nyquist sampling rate is two times the highest frequency of the input signal which would be 2400 Hz.
Just to compare:
- The standard sampling rate for for Audio CDs is 44,100 Hz
- The sampling rate for Telephones is 8,000 Hz
ADC – The Poor Mans Solution: Using the ADS1015
When I was searching for a Analog-Digital Converter I found the ADS1015 on Aliexpress. It provides 12-bit precision at 3300 samples/second over I2C. The chip can be configured as 4 single-ended input channels, or two differential channels which is exactly what we need!. As a nice bonus, it even includes a programmable gain amplifier, up to x16, to help boost up smaller single/differential signals to the full range.
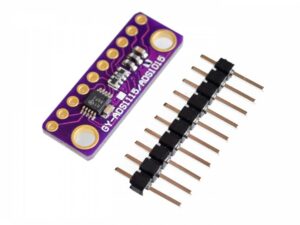
Single coil pickups have an average peak around 100-200mV, max peak of 300-400mV. Humbucker you can double those numbers. More details can be found on Tom’s Guitar Projects. So the programmable gain amplifier should be quite useful here. Digging into the specification however I had to notice that though it provides differential input – the analog input is not supporting any negative voltages: The accepted range is from GND – 0.3 to VDD + 0.3 which is right at the edge of our use case !
I do not expect that the 3300 Hz will give us a good sound quality – but we might get away with it since one potential purpose of our processing is to add distortion anyway and at a cost of less then 2 USD this is very affordable!
Connecting the Guitar
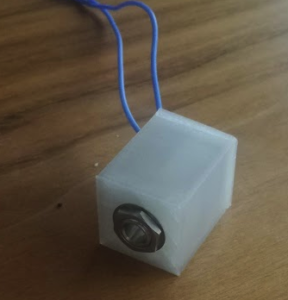
I bought some 6,35 mm input Jacks and soldered some cables to it. On the other side i used simple Dupont connectors. Finally I printed a case for the plug on my Ender 3.
Connecting the Microcontroller
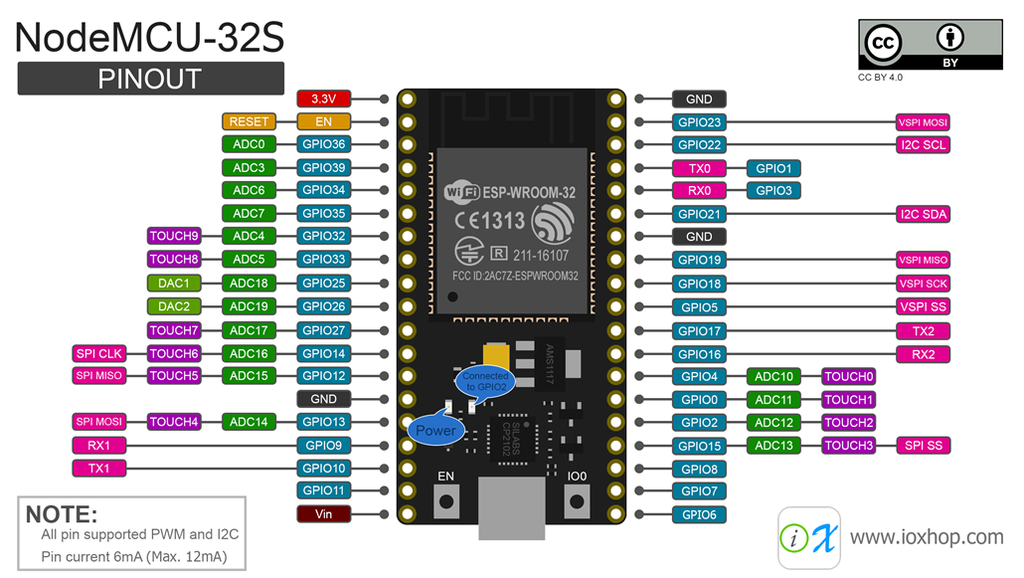
The ADC is connected via I2C, so it uses the Serial Data Line (SDA) on GPIO 21 and Serial Clock Line (SCL) on GPIO 22. Here are all the connections:
| ADC | ESP32 |
|---|---|
| V | 3.3V |
| G | GND |
| SCL | GPIO 22 |
| SDA | GPIO 21 |
| ADDR | GND |
| ALERT | – |
| A0 | Guitar 1 |
| A1 | Guitar 2 |
| A2 | – |
| A3 | – |
By tying the ADDR line to GND – the device gets the slave address 1001000 which is 0x48.
A first Validation
In our first sketch we just read the values and send it to the Arduino Plotter. There we should be able to see if we get some nice sound waves or just noise. Fortunately we can use some libraries from Adafruit und use the Arduino Plotter to display the result:
#include <Wire.h>
#include <Adafruit_ADS1X15.h>

Adafruit_ADS1015 ads1015;
int16_t sample;

void setup(void) {
  Serial.begin(115200);
  ads1015.setGain(GAIN_SIXTEEN);
  ads1015.begin();
}

void loop() {
  sample = ads1015.readADC_Differential_0_1();
  Serial.println(sample);
}
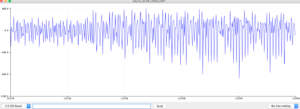
And indeed it seems that we can pick up some sound waves – so we can consider to go to the next step and try to output the sound somehow. But that’s for another blog….

0 Comments